
(At my house, there is a point when it is all about getting the refrigerator cleaned out enough to hold all the groceries that are being brought in, but that's another story and one I most likely won't be telling.)
Anyway...ahem...back on subject here ... this post is NOT about Thanksgiving day prep work. At least not for me. I had considered making a Corn & Roasted Red Pepper Chowder, but realized we were cooking too much, so it got dropped off the menu. Of course, I'd already found wonderful Italian Red Peppers at the farmers market, and I can't let them go to waste. So, I have decided to roast them anyway and freeze for later use. (One snowy day in January I will thanking myself for this, I just know it.) Some recipes call for roasting the pepper whole over an open flame, whole in the oven, etc, but THIS is by far the EASIEST way to roast peppers, and it works just as well.
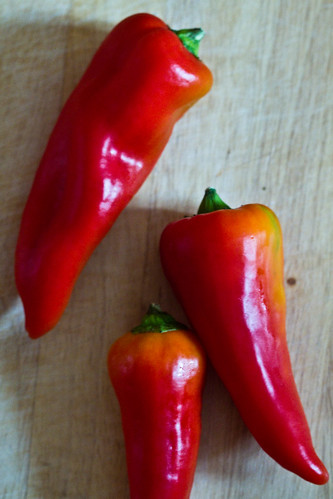
I should point out that I was lucky enough to find Italian Red Peppers, which have a thinner skin and flesh than Red Bell Peppers, and are (in my opinion) more flavorful. They are really the perfect red pepper. But regular bell peppers roast the same way. The main difference is that you would roast the thinner Italian peppers for a bit less time.
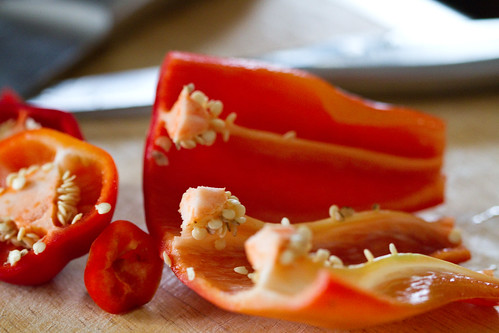
Start by washing the peppers well, of course, and cutting off the stem end. With the Italian peppers I cut off both ends. Pull out the seeds AND that white membrane that runs down the entire length of the pepper.
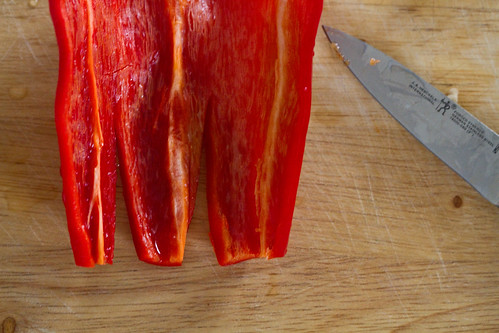
I like to make a few cuts at the narrow end of the pepper so that it lies flat. (Don't make your cuts too long, or you'll have to get all fussy at the end when you're pulling off the skin.)
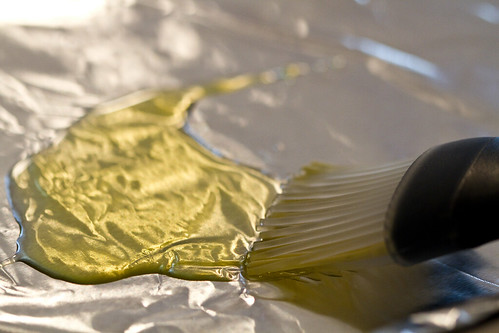
And here's my way to make it all easier -- you're going to lay the peppers out on a cooking sheet. I like to cover the sheet with aluminum foil (pepper juice and oil under the broiler can be TOUGH to clean up) and brush a tiny amount of olive oil all over the foil. My favorite little tool for this is a silicone pastry brush that I use for just about everything -- except pastry, of course.
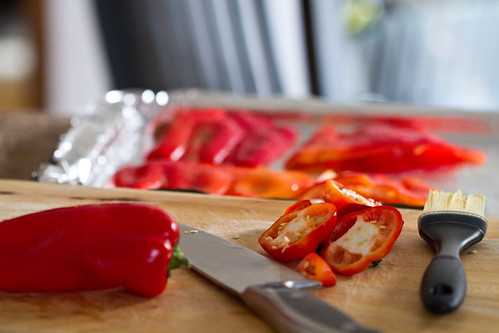
(Attention: the above photo is entirely gratuitous. I don't know why I'm including it, except that I just kind of like it.)
I guess I should have told you five minutes ago to turn on the oven. Oh well. Move the top oven rack as high as it will go, and turn the broiler on to 500 degrees. Let it get all hot in there for about five minutes.
Now, we're caught up.
Put the pan in under the broiler and cook for about 5 minutes. The skin will start to blister and turn black in spots. You will probably have to turn on your exhaust fan about now...

Pull the pan out and turn it around so that the peppers all get equal time under the hottest parts of your broiler unit, and roast for about another 5 minutes. If you are using Italian Red Peppers it may be more like 3-4 minutes each way.
Note -- at this point you might need to take the batteries out of your smoke detector. It gets a bit exciting there at the end, you know.
'Nother Note -- please don't forget to re-insert those batteries as soon as possible.
As soon as you pull the pan out of the oven, throw a nice thick folded dish towel over the whole thing and go do something else for a while. This helps steam the peppers while they cool down. This is an important step, okay?
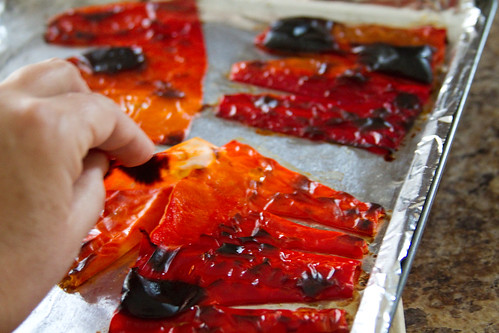
Once the peppers are cool, gently peel the skin right off and they are ready to use. You can use right away, stick them in the refrigerator for three days or so, OR you can do what I did, and freeze them. (I just put a little olive oil on a piece of plastic wrap, stacked three peppers up whole, put them on the oil, turned them over once so they were lightly coated with oil, and folded the plastic wrap into a neat little bundle. I ended up with two packages of three peppers, which I then put into a labeled zip-lock freezer bag. One book says you can freeze for two months, another says three; I don't know why you couldn't keep them longer, but that's just me.)
No comments:
Post a Comment